3. Importing slopes from the program RS Roofs 4. When a similar roof was already offered in RS Roofs 4.
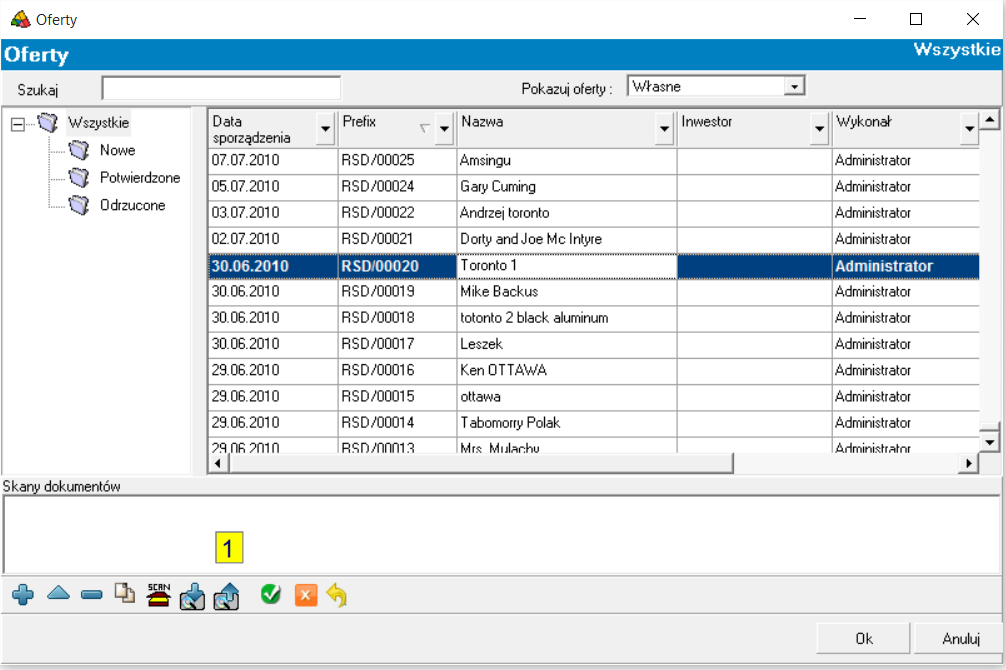
1. In RS Roofs 4 export the offer to XML
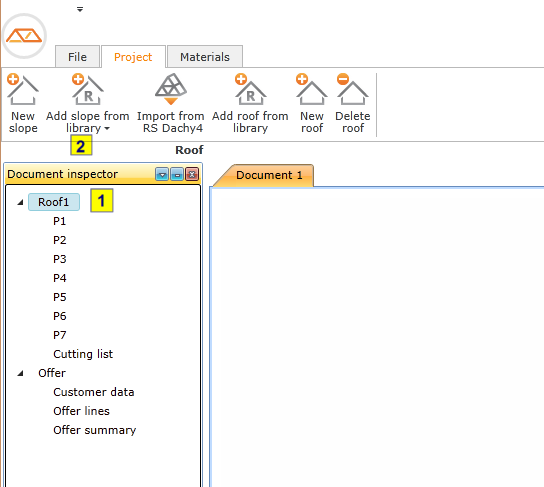
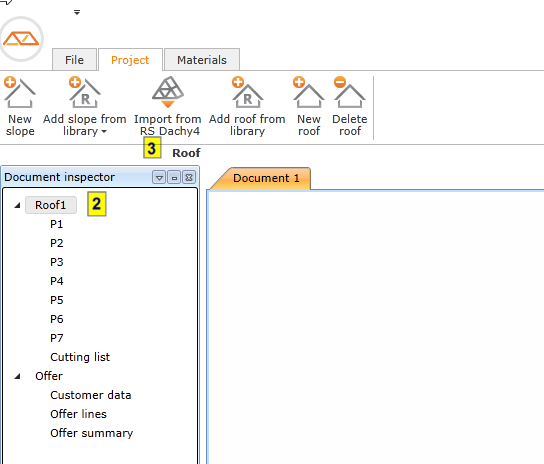
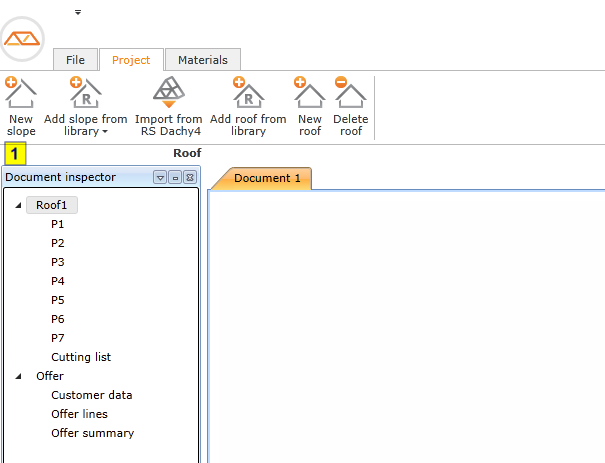
2. In RS Roofs 5, on the tab Design in a document inspector, select "Roof 1"
3. Then select "Import from RS Roofs 4"
4. Select created by RS Roofs 4 XML file
4. Drawing a slope. If the slope is unusual and the exact dimensions of the slope are known
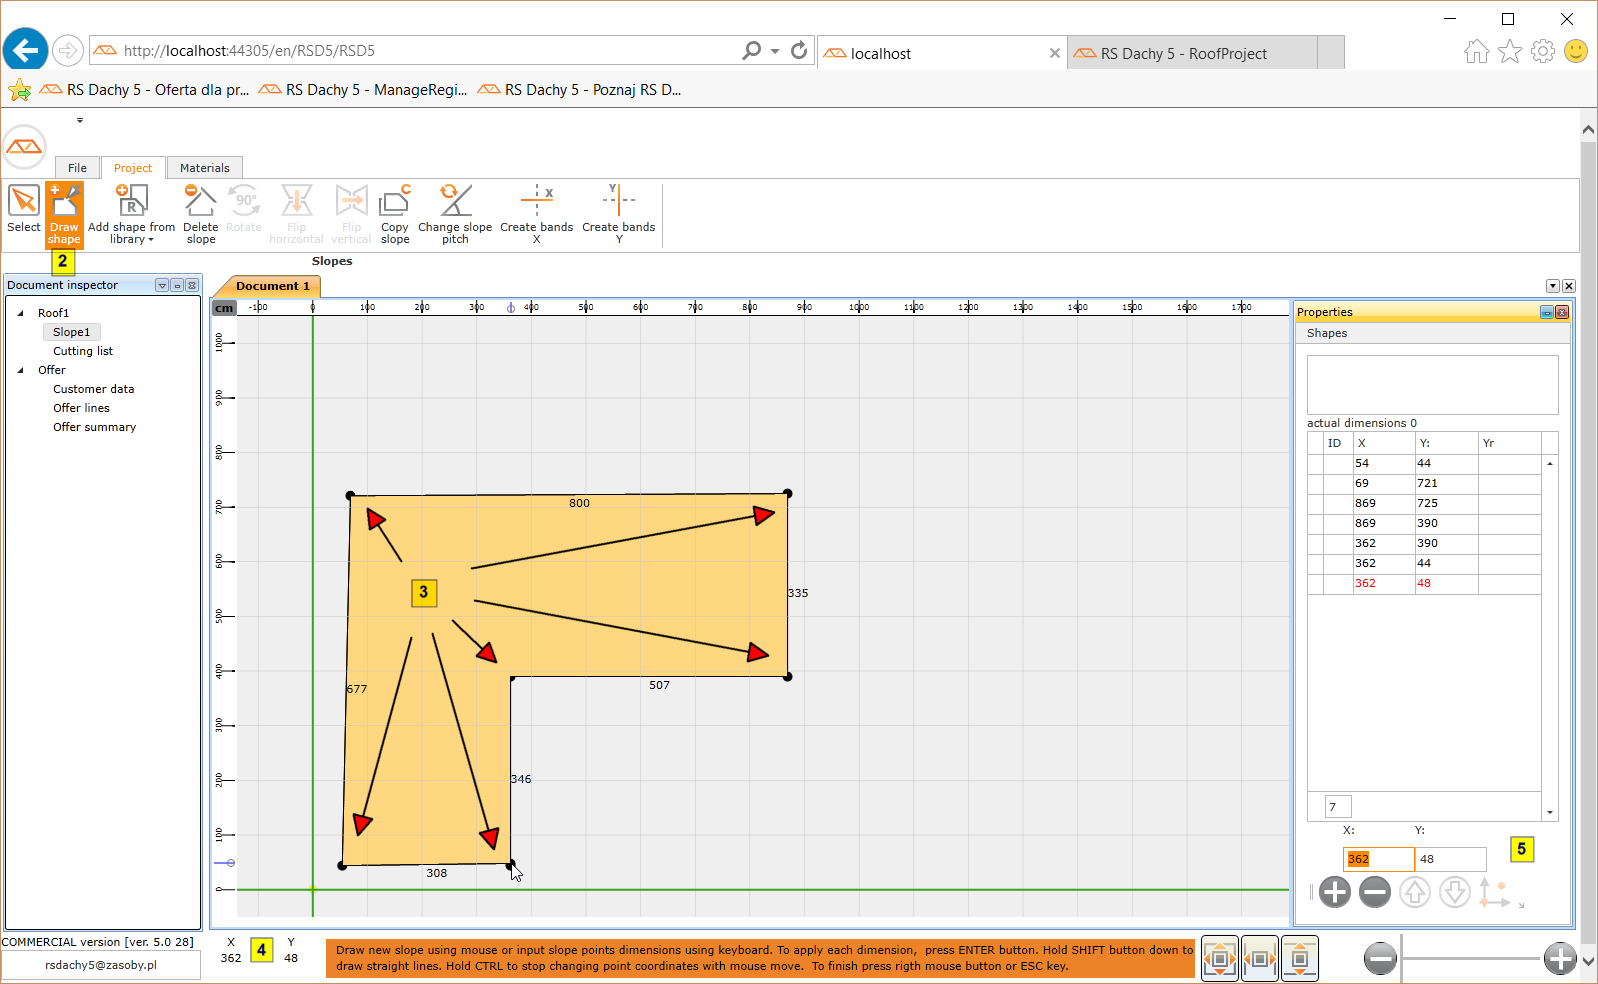
1. Select Slope 1 in a document inspector or add a blank slope using the "new slope"
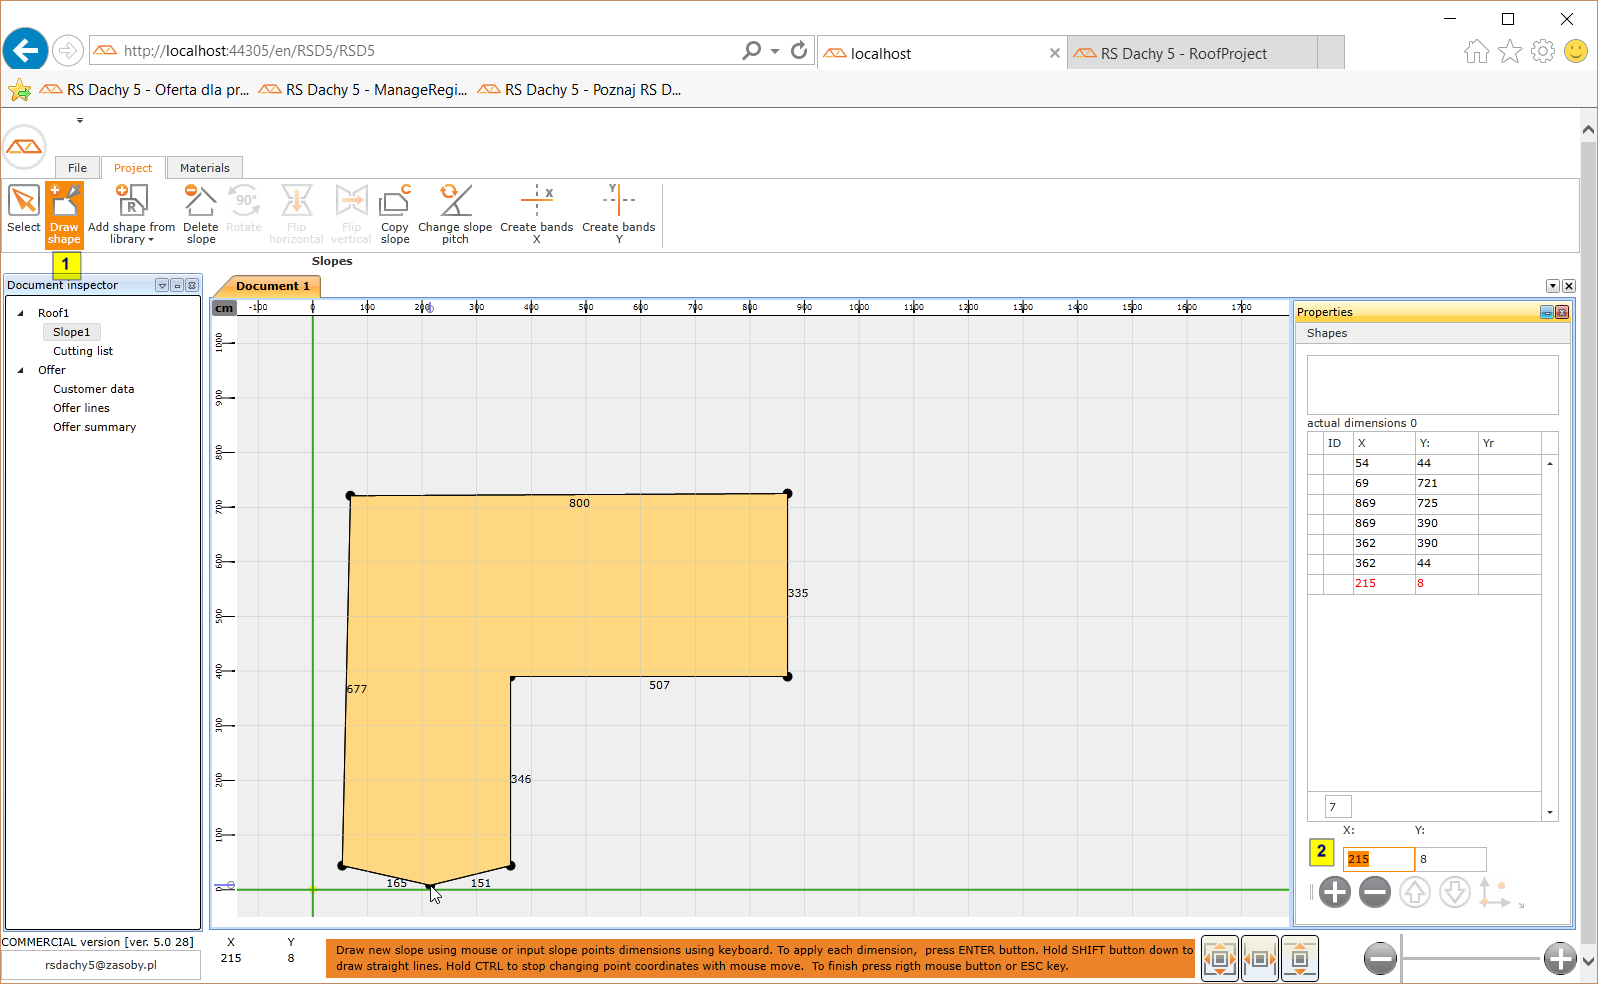
2. Enable "Draw a shape"
3. Use a mouse to draw a slope pointing in the Cartesian coordinate system, using the left mouse button, the edge points of the slope. Holding down the SHIFT key, program helps to draw horizontal and vertical lines. CTRL key disables changing coordinates while mouse moving.
4. The status bar shows the current cursor position reflecting the position of the actual dimension of the slope expressed in the default specified measurement unit.
5. Coordinates can be inputed using keyboard on X, Y text boxrs. Holding pressed CTRL key, coordinates will not be changed by moving mouse.
6. Y coordinate is dependent on the defined inclination of the slope. If no inclination is determined, this is the actual dimension.
7. To complete editing dimensions of the slope, press the right mouse button or press the ESC key.
5. Entering the coordinates of the slope using the keyboard
An unusual slope can also be introduced into the system entering the coordinates of the vertices using the keyboard.
1. For the marked slope select "Draw a slope"
2. In the application footer, in the X, Y fields, enter sequentially coordinates of the slope points approving each value by pressing ENTER
3. To complete slope edition press the ESC key
6. Functions of transformations of geometric figures
1. To perform the conversion figures (rotation or vertical or horizontal reflection) select the tab Design
2. Select the correct slope in a document inspector
3. Select the transformation function
7. Modification of slope points
To modify the slope you should:
1. Select the tab Project
2. Select the shape of the slope in the picture
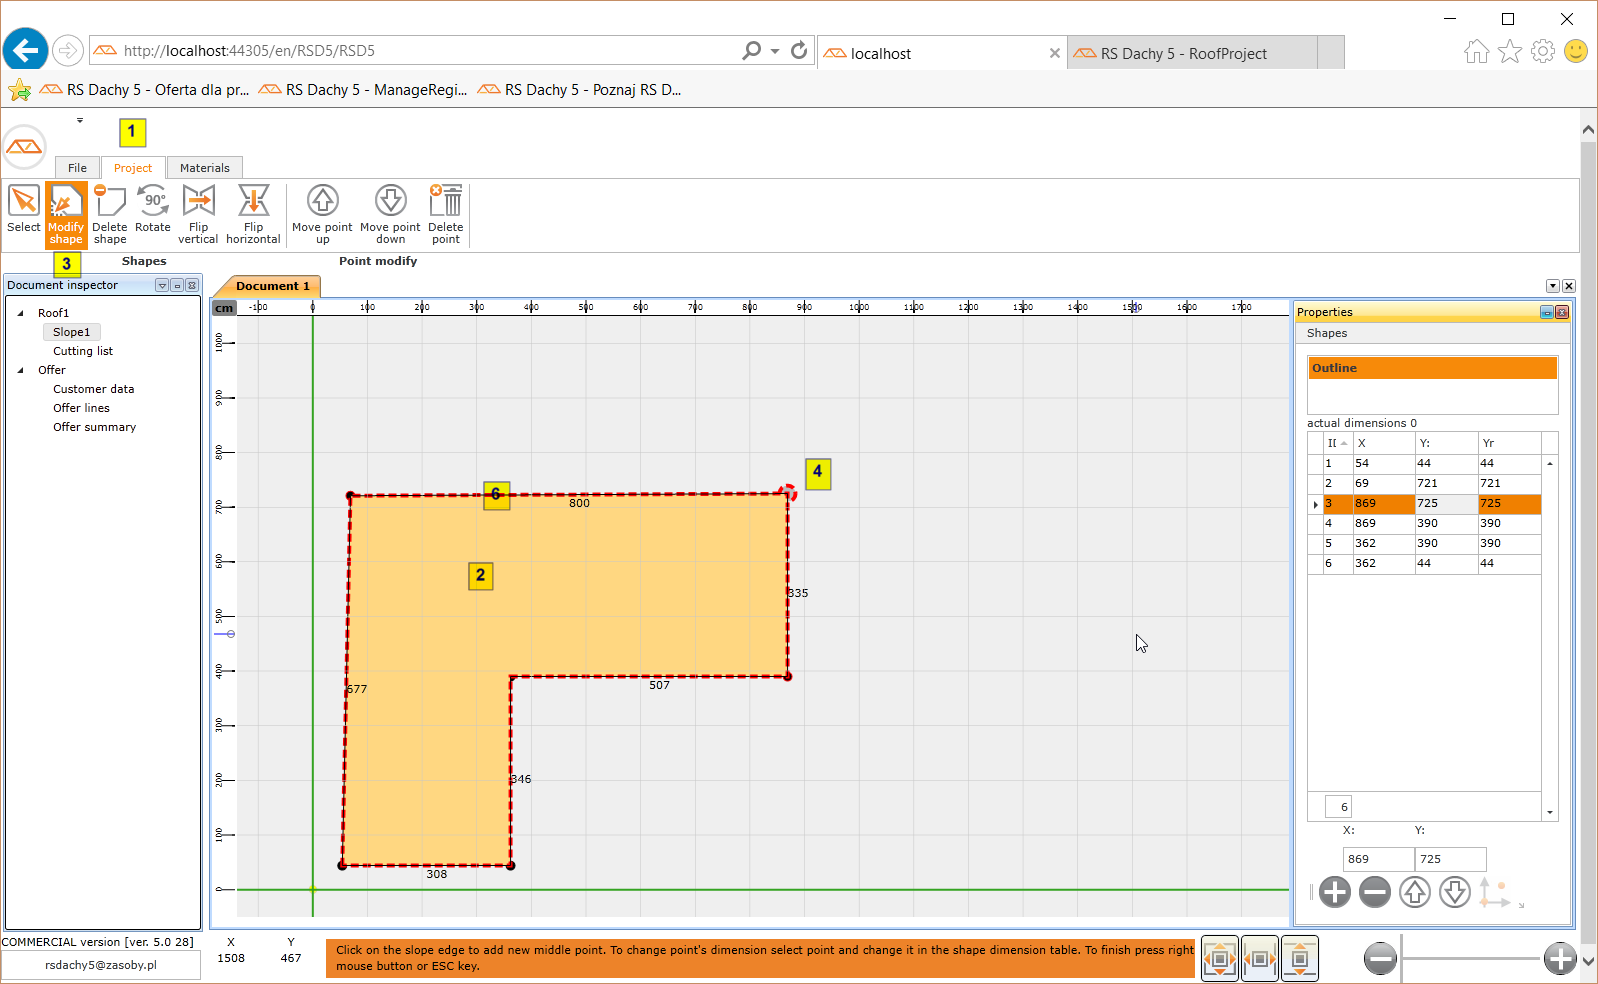
3. Select "Shape modification"
4. Move the cursor over the point (the shape of the mouse cursor will change)
5. Holding down the left mouse button, you can change the position of the point
6. To add a new point, click on the edge of the slope.
7. To complete the modification of the points, press the right mouse button
8. The coordinates of each point can be modified in the X, Y fields below the points table.
